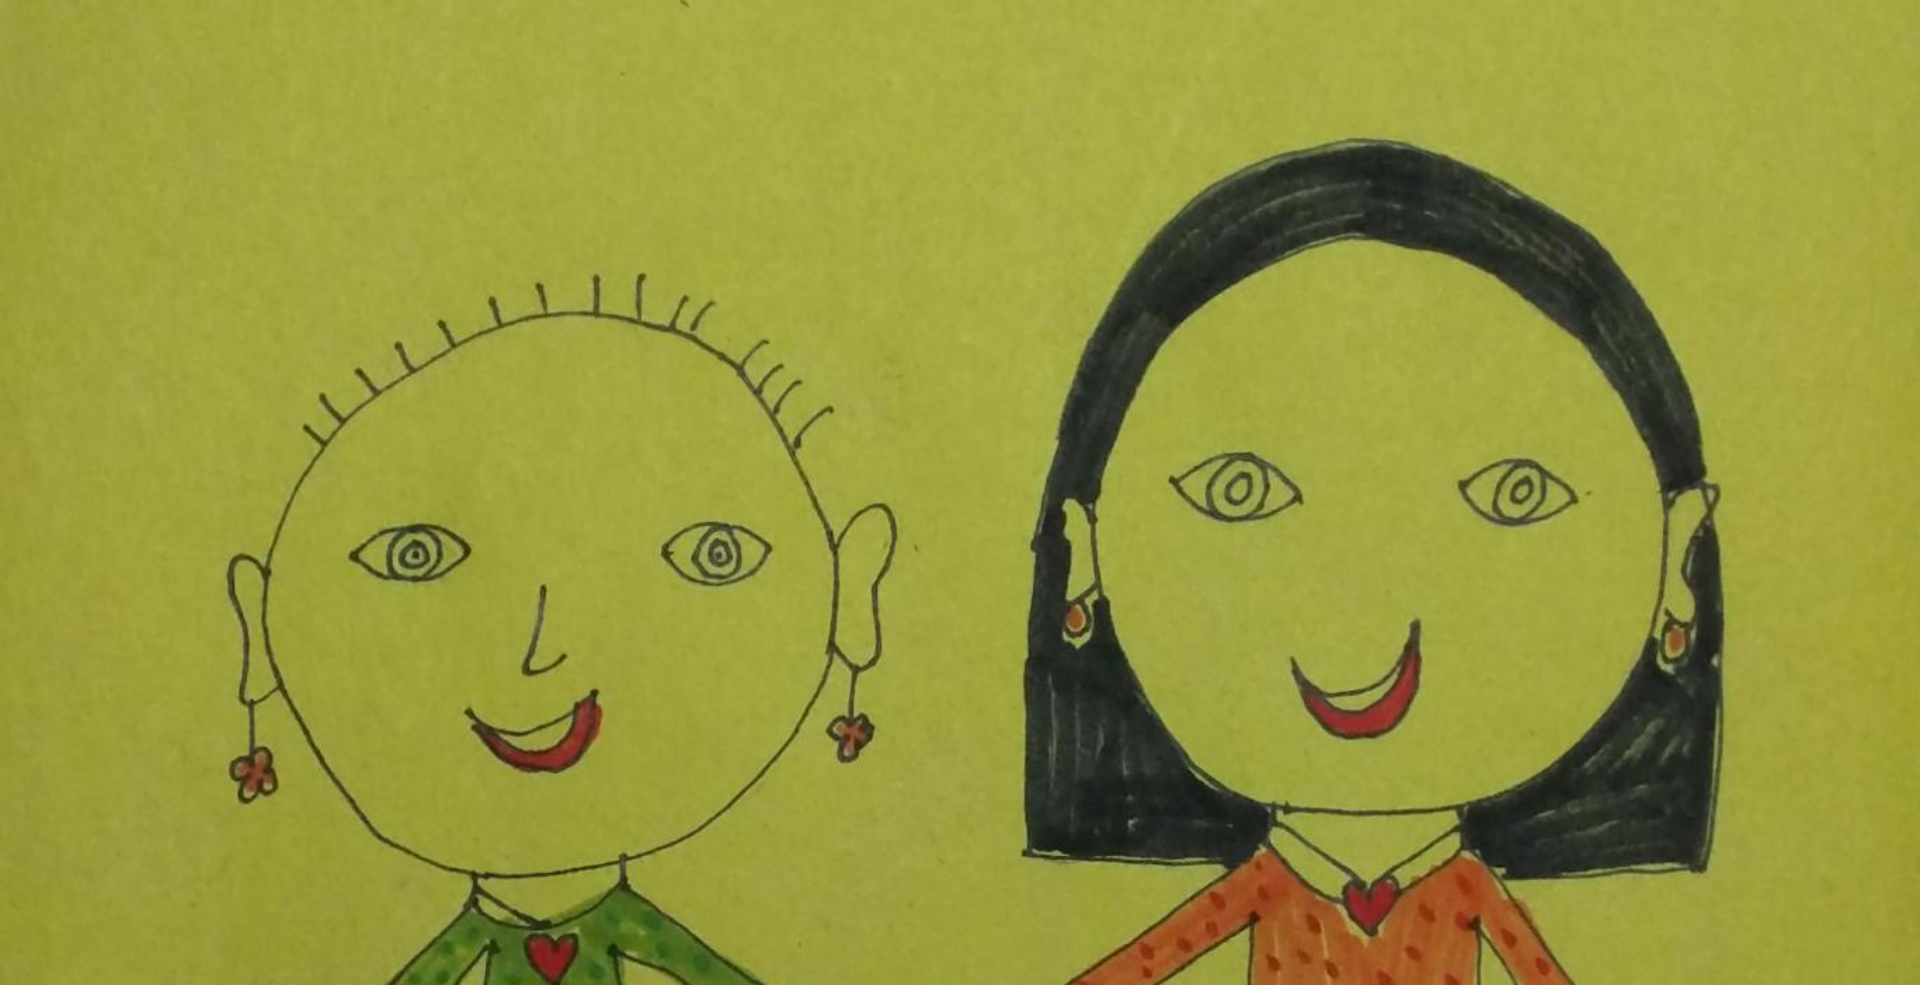
Our kid went crazy with DIY projects — it kept her busy, creative, and distracted from the pain of cancer treatment.
Young minds (and old!) are happier when they are kept busy in constructive ways. After days of watching too much TV and iPad during the initial part of the treatment (see this post), our kid was getting increasingly bored, tired, and irritable… We realized that we needed to find new ways to keep her busy and cheerful, through the long treatment period of around a year. Thus began our venture into DIY projects!
Huge thanks to SaraBeautyCorner for her fun and engaging Youtube videos on DIY food, craft and gift ideas. Our kid loved watching them. We started picking fun projects from there, to try hands on at home.
Of course, the first DIY projects had to be food related (remember the hunger pangs from steroids in induction?). We baked our own healthy granola bars with nuts, made fruit kabobs, packed glass jars with fruits for snacks, baked ginger almond cookies, almond muffin cakes, and melted dark chocolate into different shapes — from dinosaurs to Fairy Godmothers — and had fun decorating them with different toppings.
Our six year old especially loved the Fairy Godmother chocolates. After returning from a week long hospital stay during her birthday, we celebrated by baking cakes and making these chocolates. She would close her eyes, and make a wish before eating each Fairy Godmother chocolate. The innocent joys of childhood!
As the steroid effects went away, the new set of chemo drugs during consolidation left her severely nauseated and uninterested in food. At this time, we switched to DIY craft and other projects. She enjoyed playing with modeling clay, melting crayons into different shapes, and making various patterns with melty beads.
As described in this post, she loved art related DIY projects and found them very relaxing. From drawing simple cards, to shrink art, sand art, stained glass paintings, sketches and acrylic, she enjoyed herself with oodles of art!
During the winter, coupled with chemo, her lips went dry and started cracking. As she started exploring different colored lip balms in the market, we wondered why not make our own lip balm?! She loved the idea. Thanks to the recipes from the YouTube DIY lip balm videos, we made our very first lip balm with simple and good ingredients (beeswax, coconut oil, beet juice for coloring). It was so simple and easy, that she made several of these and started gifting them to her friends, doctors and nurses for the holiday season. I still use the one she gave me 🙂
We owe a lot to DIY projects! Thanks to them, our kid became a busy bee, eager to try new projects. More importantly for us, she was cheerful and distracted from the painful effects of chemo.
